A pot is an artificially constrained environment for any plant and so repotting is necessary in order to grow healthy plants. In this guideline we will help you understand when it’s time to consider repotting and the steps of repotting for a happy, healthy plant.

Choosing The Right Pot
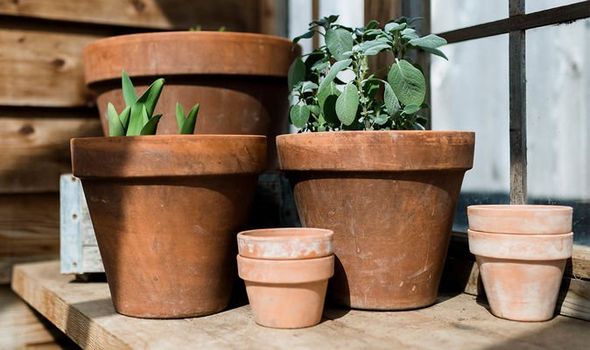
Pots come in different types of materials and sizes. These include terracotta or clay pots, ceramic, plastic, and clay fiber pots.
As a general rule you should always choose a pot that is approximately 5cm larger in diameter than the current pot size. For example a pot size 17cm will need to be repotted in a 22cm pot.

When To Repot
Here are a few indications that you may need to repot your plant:
- Abnormally fast drying of the plant’s soil
- Slowed growth
- Roots coming out of the drainage holes
- Wanting a nicer or bigger pot
The best moment to repot is when there is abundant light, high temperature and high humidity.
Steps To Repotting Your Plant
1. Prepare your new pot
Ideally pick a pot that has drainage holes. Remember that is so that excess water does not accumulate in the pot as this can lead to root rot. If the pot you’ve chosen doesn’t not have drainage holes, you may drill some small holes yourself. Alternatively, you may choose 2 pots: 1 to repot for proper drainage in order to be able to insert in the decorative pot that has no drainage holes. Make sure to remove excess water that is accumulating in the pot!
2. Remove the plant from the current pot
Be very gentle with the roots, whilst trying to keep as many roots intact as possible. Separate roots gently by straightening them to promote better root growth.
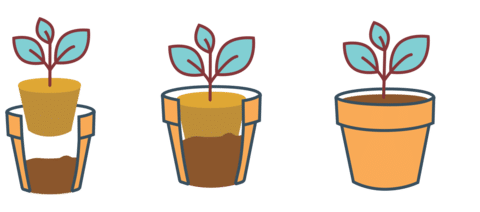
3. Place fresh substrate into the new pot
The quantity you place at the bottom will affect the height of the plant. You may check this by placing the plant and adjusting the level crown just below the level of the new pot.

4. Place the plant in the new pot and hold firmly
With one hand ensure that the plant is at the centre of the new pot and that there is equal space around the lip of the pot. With the other hand, place the potting soil and try to keep the plant as steady and straight as possible. Pack and compress slightly to remove air space that might be trapped in the pot. You may shake the plant gently to remove even more air space. Make sure that the level of the soil was the same as it was originally. Be sure to leave some space between the lip and the soil.
5. Water and groom the plant.
Water gently around the plant. Remove any yellow or dead leaves so that the plant becomes nicer and healthier.