A Step-by-Step Guide on Repotting for Maltese Gardeners
Repotting is one of the most important—and often overlooked—steps in keeping your plants healthy and thriving. Whether you’re caring for herbs on a sun-drenched balcony in Valletta or tending to succulents in your Gozo courtyard, knowing when and how to repot can make all the difference.
This guide will walk you through everything you need to know to repot confidently in the Maltese climate.

🌞 Why Repotting Matters in Malta
The hot, dry summers and mild winters in Malta create unique challenges. Potted plants dry out faster, and roots can become compacted or “root bound” if not repotted in time.
The benefits of repotting are;
• Refreshes old, depleted soil
• Allows more room for root growth
• Prevents pests and disease from building up
• Improves water absorption and drainage
🕓 When Should You Repot in Malta?
The best time to repot plants here is:
• Spring (March to May) – Ideal as plants enter their growing season
• Early Autumn (Late September to October) – Before cooler nights set in
Avoid repotting during the peak summer heat (June–August) unless absolutely necessary. The stress of high temperatures and transplant shock can harm your plant.
🌱 Signs Your Plant Needs Repotting
Watch for these symptoms:
• Roots growing out of the drainage holes
• Water runs straight through the pot
• Soil looks compacted, cracked, or depleted
• Leaves are yellowing or wilting despite proper care
• Growth is stunted
🧰 What You’ll Need
• A pot 3-5 cm wider than the current one
• Fresh potting mix (cactus mix, herb mix, or general-purpose)
• Gloves, trowel, and newspaper or a mat
• Drainage materials (pebbles, mesh, or broken pottery)
• Optional: water spray bottle, root stimulant

🪴 Step-by-Step: How to Repot a Plant
1. Water the plant the day before
This helps reduce shock and makes removal easier.
2. Remove the plant gently
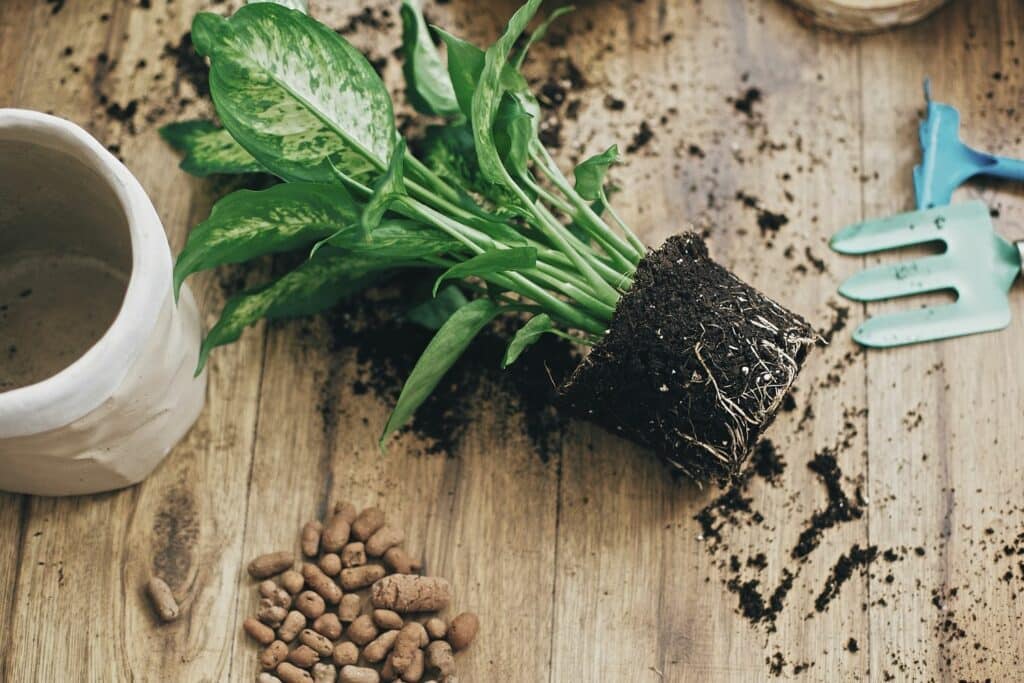
Turn the pot on its side, tap the base, and gently slide the plant out. You may need to squeeze the sides or use a knife to loosen it.
3. Inspect and loosen the roots
Trim any black, mushy, or overly long circling roots. Loosen the root ball with your fingers to encourage outward growth.
4. Prepare the new pot
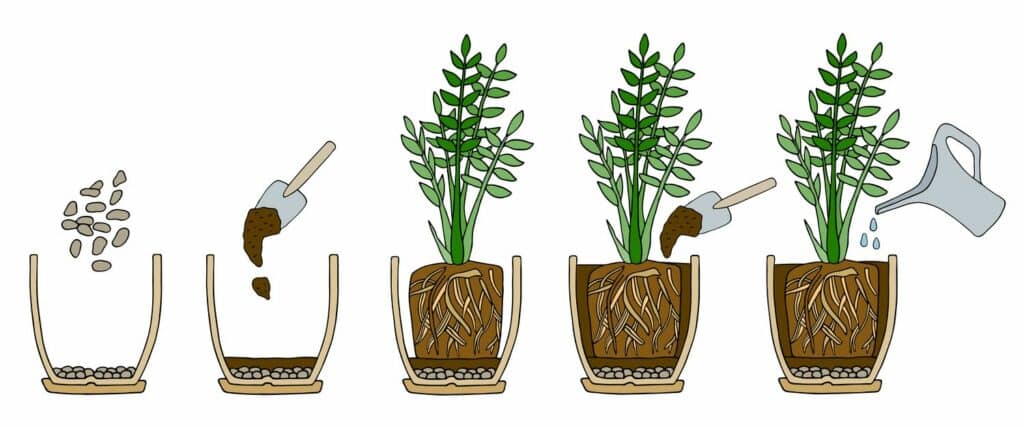
• Add a layer of pebbles or mesh for drainage.
• Pour in some fresh potting mix at the base.
5. Reposition the plant
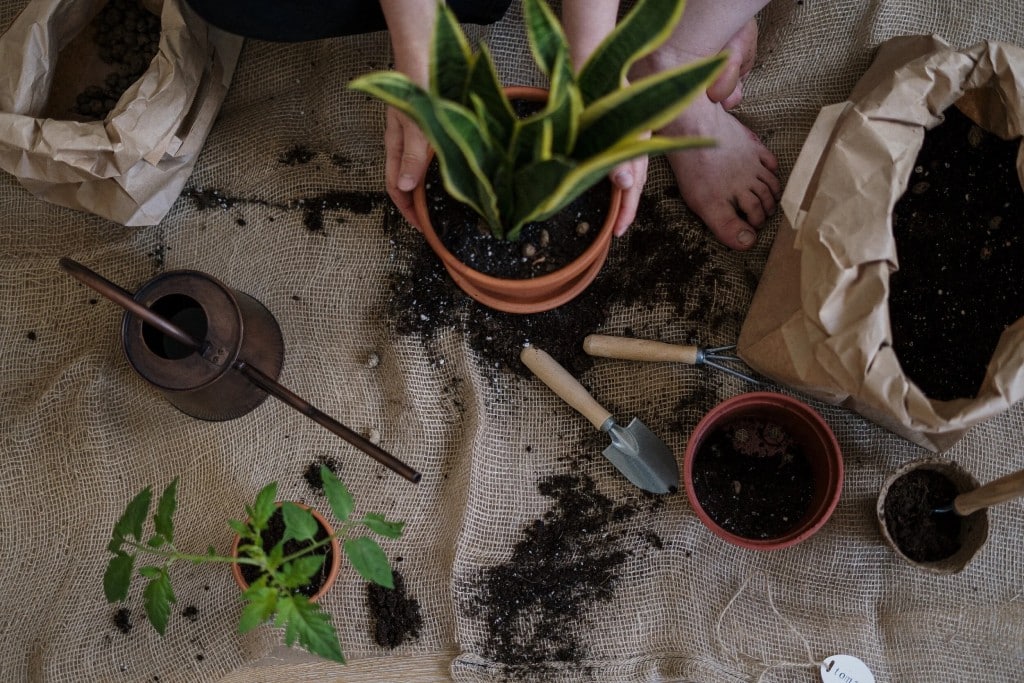
Set the plant in the center, at the same depth it was growing before. Fill in with soil around the roots, gently pressing as you go.
6. Water thoroughly
Water until it runs out the drainage holes. This settles the soil and hydrates the roots.
7. Place in indirect light for a few days
Let the plant recover before moving it back into direct sun.

💧 Aftercare Tips
• Don’t fertilize for 1–2 weeks after repotting.
• Water consistently but not excessively.
• Keep an eye on leaf color and soil moisture.
• Avoid moving plants around too much after repotting.
🌍 Eco-Friendly Tip: Use greywater (from rinsing veg) for post-repotting hydration
Planting Guide Part 1:
Planting Guide Part 2:
Repotting doesn’t need to be intimidating. With the right timing, materials, and gentle technique, your plants will bounce back stronger than ever—ready to take on the unique challenges of life in the Maltese climate.